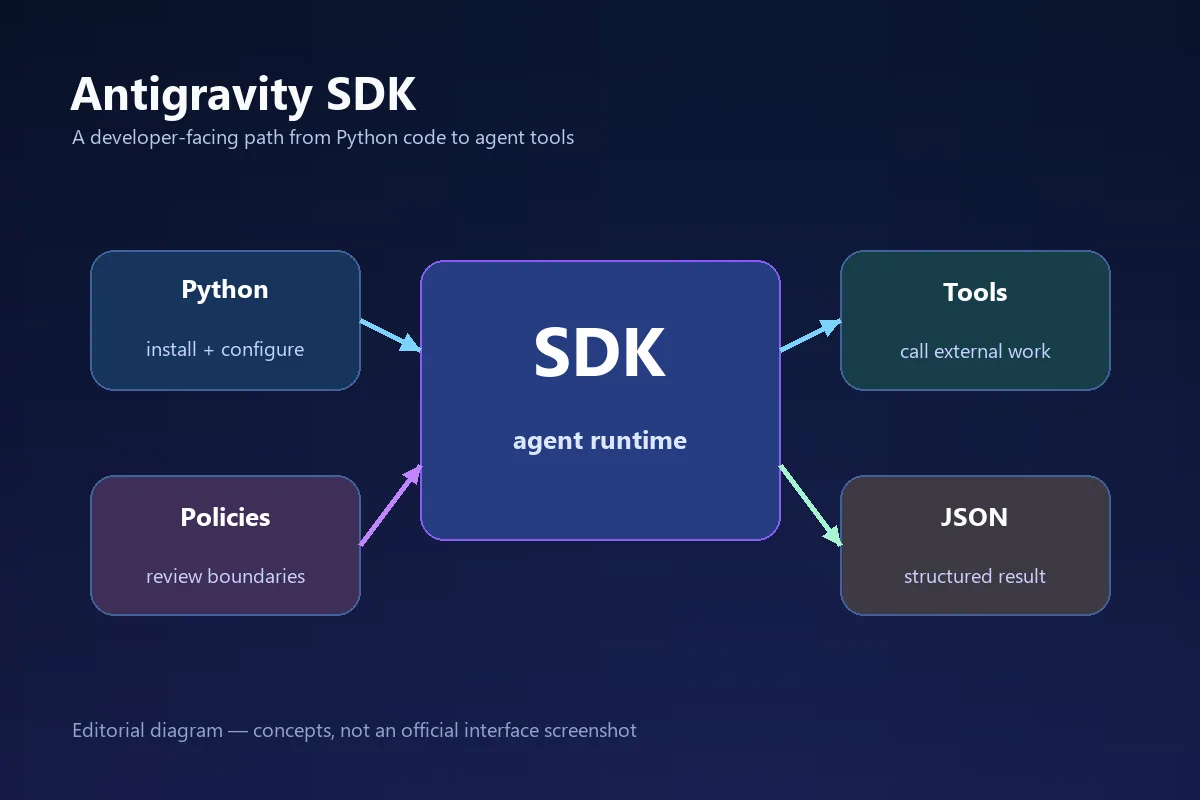
Page update: September 12, 2026. Version snapshot: google-antigravity v0.1.16 on the PyPI listing; API names can change, so verify the official documentation before you pin a dependency.
What is the Antigravity SDK?
An SDK gives application code a supported way to call a product capability. The Antigravity SDK lets developers define an agent, connect approved tools, and consume a result from Python. It fits assistants, repository helpers, test harnesses, and repeatable workflows.
The key distinction is ownership: the IDE is for interactive work, the CLI is for terminal commands, and the SDK is where your program owns the workflow. They complement one another but do not share one universal version or configuration file.
How to install the Antigravity Python SDK
Start with the official SDK getting-started page and current PyPI metadata. Check the Python requirement, extras, authentication, and import paths instead of copying an old snippet. Use a disposable virtual environment, keep secrets outside Git, and make the first request read-only or reversible.
python -m venv .venv
.venv\Scripts\activate  # Windows
source .venv/bin/activate   # macOS or Linux
python -m pip install --upgrade pip
python -m pip install google-antigravity- Create an isolated environmentUse a project-local virtual environment for predictable package resolution and rollback.
- Install from the maintained sourceFollow the official package instructions, including current extras or authentication steps.
- Pin only after a successful testRun the smallest example, then record the version and Python runtime that passed.
- Keep configuration out of commitsUse environment variables or a secret store and ignore local config files.
- Read the release notes before upgradingSDK APIs can change independently from the desktop app, CLI, or IDE.
Confirm the current Python requirement and package instructions before production use.
Build a first small agent
A good first agent has one job, one instruction, and a result you can check by hand. Summarize a short release note or classify a local fixture. Avoid browser, shell, database, and write access together; failures are harder to isolate.
Class names and response properties belong to the current SDK release. The example shows the shape: configure, send one request, inspect the result, and follow the documented lifecycle. Treat it as a scaffold, not a permanent API promise.
from google.antigravity import Agent, AgentConfig

config = AgentConfig(
    instructions="Summarize the supplied release note in three bullets."
)
agent = Agent(config=config)
result = agent.run("Release note: the test suite now reports flaky browser checks.")
print(result)- Input — Use a short fixture with an expected answer.
- Result — Inspect the result before adding automation.
- Lifecycle — Follow documented lifecycle and retry behavior.
- Repeatability — Save the prompt, version, settings, and observed result.
Add tools one at a time
Tools bridge agent reasoning and external action. Choose the smallest useful action, define a narrow input contract, validate arguments, and return a bounded result. Log safe identifiers and outcomes; never expose a home directory or grant write access when read-only data is enough.
Narrow input
Accept only fields the task needs and reject unexpected paths or commands.
Invalid input should be visible.Predictable output
Return a compact status, useful data, and actionable error.
Keep parsing stable.Explicit permission
Separate read, write, network, browser, and shell capabilities.
Permission is part of the API.Easy rollback
Document how to disable the tool, revoke access, and replay the last call.
Every integration needs an exit path.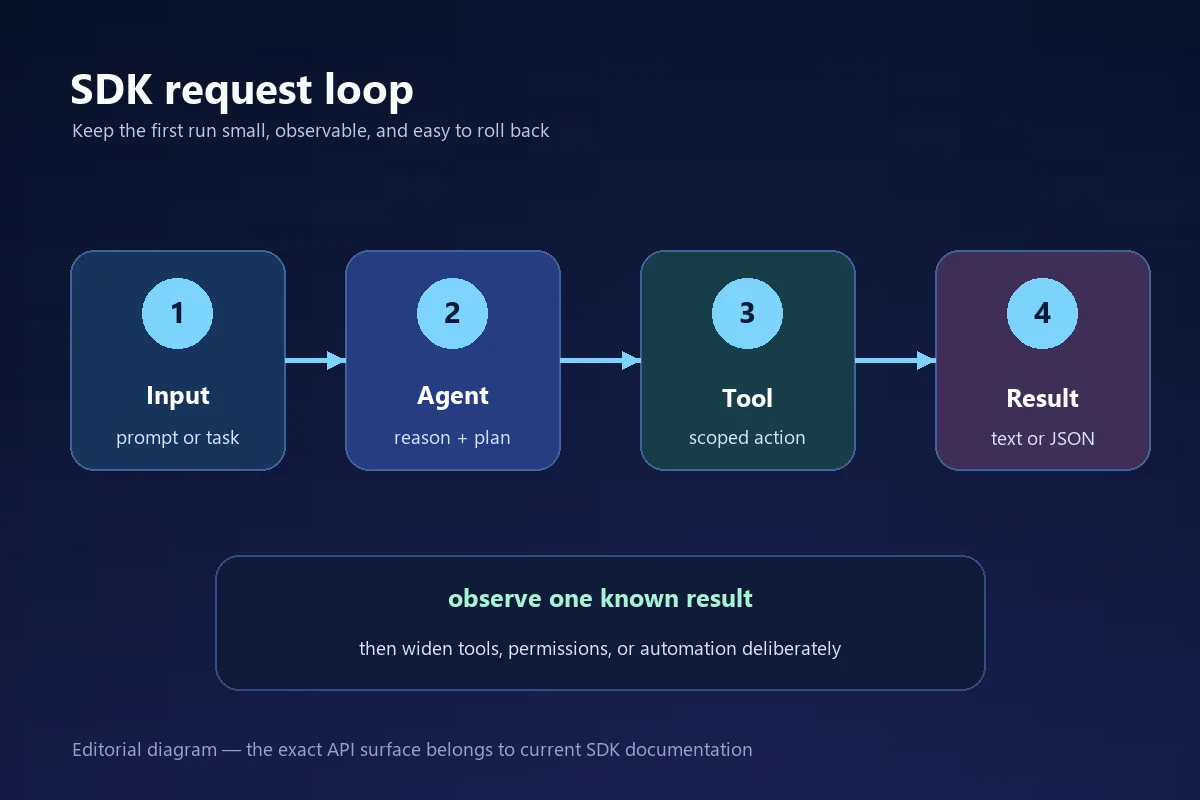
Use subagents for separate jobs
A subagent helps when a task has a separate role, such as planning, retrieval, validation, or formatting. Give each role a clear input and output boundary; a planner should not inherit validator credentials.
Start sequentially so each handoff is inspectable. Add parallel work, timeouts, and retries only after the boundaries are stable, and expose partial failure.
Define the role
State the job, context, and result shape.
Pass only needed context
Trim private data before handoff.
Validate the handoff
Check fields and stop on unsafe output.
Measure before parallelizing
Add concurrency only after limits and recovery are understood.
Return structured output your program can trust
Free-form text is convenient for a person but fragile for application logic. When a result feeds a database, UI, test, or next agent, use the SDK's current structured-output feature with a small schema and validate it locally.
A schema does not make a response true: check types, allowed values, required fields, and business rules. Keep raw diagnostics separate from user-facing output.
result = agent.run("Classify the fixture.")
validated = {
    "label": result.label,
    "confidence": float(result.confidence),
    "needs_review": bool(result.needs_review),
}
assert validated["label"] in {"pass", "review", "fail"}- Validate the returned object locally.
- Use enums and bounded strings for finite choices.
- Treat missing or malformed fields as a visible failure.
- Keep diagnostics separate from user-facing output.
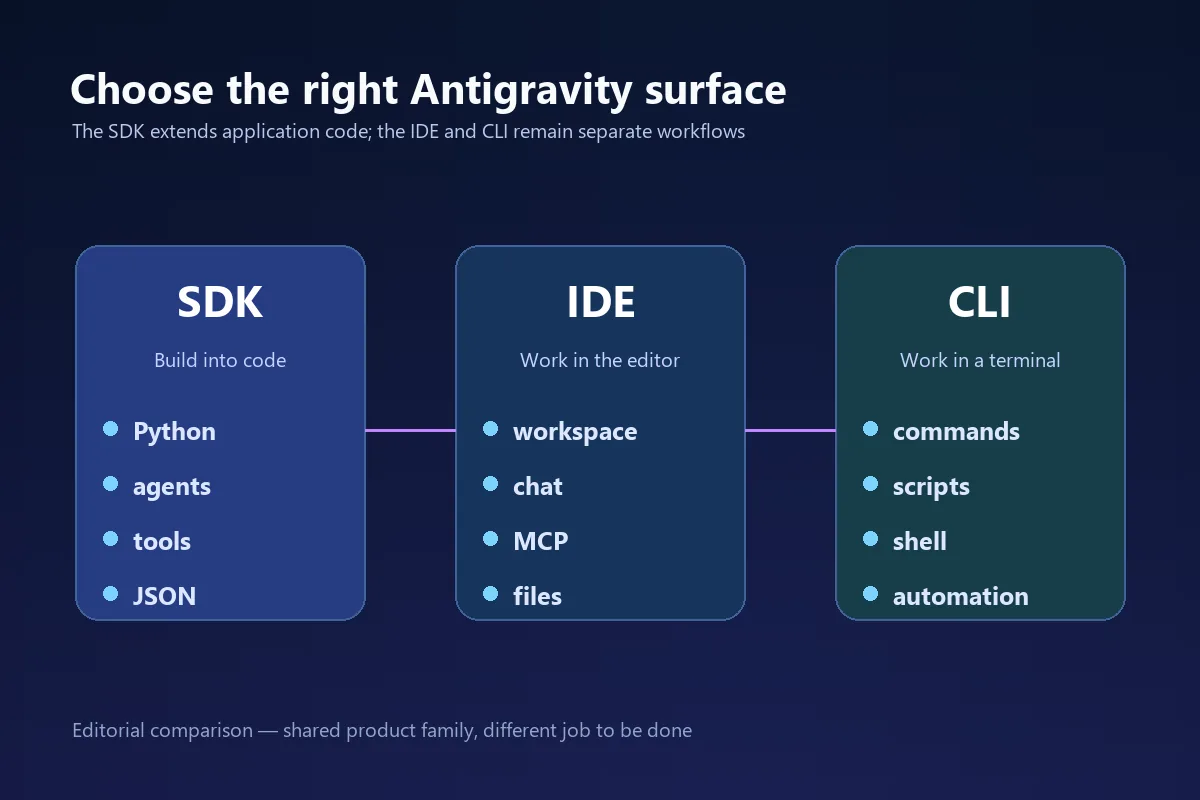
SDK vs IDE vs CLI: choose the right surface
The SDK embeds an agent workflow in code; the IDE is for interactive projects; the CLI is for terminal commands and scripts. Pick the surface that owns the job rather than treating each as a different button for the same workflow.
Their releases can move on different schedules, so record the source and date for the component you use.
| Surface | Best for | Not a substitute for |
|---|---|---|
| SDK | Python applications, agent orchestration, tools, and programmatic results | Installing the desktop app or learning IDE-only shortcuts |
| IDE | Interactive workspace editing, chat, files, and MCP setup | A stable application embedding contract |
| CLI | Terminal commands, scripts, and shell-oriented automation | A replacement for Python SDK lifecycle control |
Security and reliability checks before wider use
An SDK can make an agent part of a real application, so review package provenance, credentials, network destinations, local paths, tool arguments, and logs. Begin with a disposable project and test account when tools reach external data.
Keep approval visible for actions that change files, send messages, spend money, alter accounts, or publish content. Add timeouts and bounded retries, and distinguish invalid input, unavailable services, denied permission, and human-review results.
- Credentials — Use a secret store; never commit tokens or paste them into prompts.
- Paths — Allow only project directories, not a drive root or home directory.
- Actions — Separate reads from writes, shell, browser, and network calls.
- Observability — Record IDs, durations, outcomes, and safe error categories.
- Recovery — Document how to disable, revoke access, replay a fixture, and roll back.
Common Antigravity SDK troubleshooting paths
When the first run fails, reduce the system to one variable at a time.
The package installs but the import fails
Confirm the virtual environment and interpreter, then compare the import path with the current quickstart. Check package metadata before changing application code.
The agent returns an authorization error
Compare credential source, account scope, and required permissions with the current documentation. Remove secrets from logs and retry the smallest request.
A tool call hangs or repeats
Add a timeout, log the boundary, and test the tool with fixed input. Keep retries bounded; never repeat an unknown write automatically.
Structured output is incomplete
Make the schema smaller and validate required fields locally. Treat refusal, truncation, or malformed data as review, not success.
Version snapshot and source-of-truth rule
On September 12, 2026, PyPI showed google-antigravity v0.1.16. Official listings showed desktop v2.13.0, CLI v1.2.0, and IDE v2.5.5; these surfaces move independently.
Use current official setup pages and record the installed version. The official download page remains the desktop and CLI fallback.
A sensible first Antigravity SDK project
Create a small Python environment, install the maintained package, and run one known fixture through one narrowly scoped agent. Then add one tool or schema only when it improves the workflow.
A good SDK integration is easy to explain and stop. Revisit official SDK documentation when you upgrade or expand permissions.
Read the official SDK setupAntigravity SDK FAQ
What is the Antigravity SDK used for?
It puts an Antigravity agent workflow inside application code so developers can define instructions, connect scoped tools, and validate Python results.
Is the Antigravity SDK the same as Antigravity IDE?
No. The IDE is an interactive editor; the SDK embeds an agent workflow in an application. Check their configuration, lifecycle, permissions, and versions separately.
How do I install the Antigravity Python SDK?
Create a virtual environment, follow official instructions, install google-antigravity, and record the version that passes a small test.
Should my first SDK agent use tools or subagents?
Usually neither. Prove one small agent first, add a tool only when needed, and use subagents for genuinely separate roles.
Can I trust structured output without validation?
No. Validate types, enums, required fields, lengths, and business rules; malformed output is a failure or review state.
Which version should I use?
This page recorded google-antigravity v0.1.16 from PyPI on September 12, 2026. Re-check official docs and metadata at install time.
Official SDK sources
- Antigravity SDK getting started — Installation and first-run instructions.
- Antigravity SDK overview — SDK scope and product surface.
- Antigravity SDK tools — Tool configuration and execution concepts.
- Google Antigravity package on PyPI — Package metadata; verify before pinning.
- Antigravity official download page — Desktop and CLI download fallback.