What is Antigravity CLI?
Antigravity CLI is the command-line surface for working with the Antigravity agent from a terminal. It is useful when you prefer keyboard-driven workflows, want to start an agent in a repository, need to inspect a result without opening the full IDE, or want a repeatable command that can be launched from a development shell. The CLI and the desktop products are related, but they are not the same install target or version label.
The most important boundary is intent. Use the CLI guide when the question contains commands, terminal, agy, settings.json, shell permissions, or VS Code terminal handoff. Use the Antigravity IDE pages when the question is about editor panels, desktop installation, or system requirements. Use the MCP guide when the problem is a server configuration, and use the Agent Manager guide when you need the legacy mission-control view.
Because CLI behavior can change faster than a static article, treat the official documentation as the source of truth for the current installer and command reference. The examples here explain the workflow and the safety checks; they do not promise that every build exposes an identical experimental flag.
How to install Antigravity CLI
Start from the official CLI install page instead of a third-party mirror. The official page presents a macOS/Linux shell path, a Windows PowerShell path, and package-manager guidance when available. That matters because a CLI installer is not just a downloaded archive: it also has to place the agy command on PATH and match the shell from which you will launch it.
After installation, close and reopen the terminal. Then check the command before trying a real repository. A new shell is important because PATH changes are often invisible to an already-open terminal or to an IDE that was launched before the installer ran.
The table below records the official command shapes. If the official page changes the script URL, package name, or supported platform, use its current command rather than copying an old snippet from this article.
| Platform | Official path | What to verify |
|---|---|---|
| macOS / Linux | curl -fsSL https://antigravity.google/docs/cli/install.sh | bash | Open a new shell, then check agy --version and the first-run authentication prompt. |
| Windows PowerShell | irm https://antigravity.google/docs/cli/install.ps1 | iex | Use an approved PowerShell policy and confirm the new PATH is visible to the shell. |
| Package manager | Use the command shown on the official install page | Do not guess a formula or package name; verify the official page and repository metadata first. |
- 1. Open the official installerRead the platform prerequisites and run the current command from the official CLI install documentation.
- 2. Reopen your terminalStart a fresh shell so PATH and shell policy changes are loaded. In VS Code, open a fresh integrated terminal too.
- 3. Check before authenticatingRun agy --version and agy --help. If the shell cannot find agy, fix PATH or the installation before debugging agent behavior.
- 4. Start a small testRun agy in a small version-controlled folder first. A small test makes it easier to tell an install problem from a repository or permission problem.
Official-source note: this site does not claim a stable direct binary URL, file size, or safety scan for the CLI. The primary download CTA therefore opens the official Google CLI documentation.
First Antigravity CLI commands
The safest first command is the help surface, not a destructive action. Start with agy --help outside the interactive session and /help inside it. The slash commands are session controls; the command-line flags are launch options. Keeping those two surfaces separate prevents a common mistake where a user pastes an interactive command into PowerShell or Bash and assumes the CLI is broken.
Use the smallest command that answers the question. /status or /usage can tell you whether a session is active, /agents helps when multiple agents are involved, and /diff is useful before you accept changes. When you need a new conversation or a different model, use the session controls exposed by the current official command reference rather than carrying a stale flag forward.
agy --helpDiscover the installed surface
Print the command-line help and confirm that the shell is invoking the expected binary.
agy --versionCheck the CLI version
Record the version before troubleshooting. Compare it with the official download page, not with a cached third-party article.
/helpList session commands
Use this inside an active CLI session to see the slash commands supported by the current build.
/configInspect configuration
Open the configuration surface when you need to understand scope, file locations, or loaded settings.
/settingsOpen settings controls
Use the interactive settings view for a quick check before editing JSON manually.
agy -cChoose a working directory
Use the current command syntax documented by the official reference when you need to start against a specific project context.
/diffReview changes
Inspect the proposed or generated changes before writing them into a repository.
/logoutEnd the local session
Use the current CLI logout control when you need to switch accounts or clear the active authentication state.
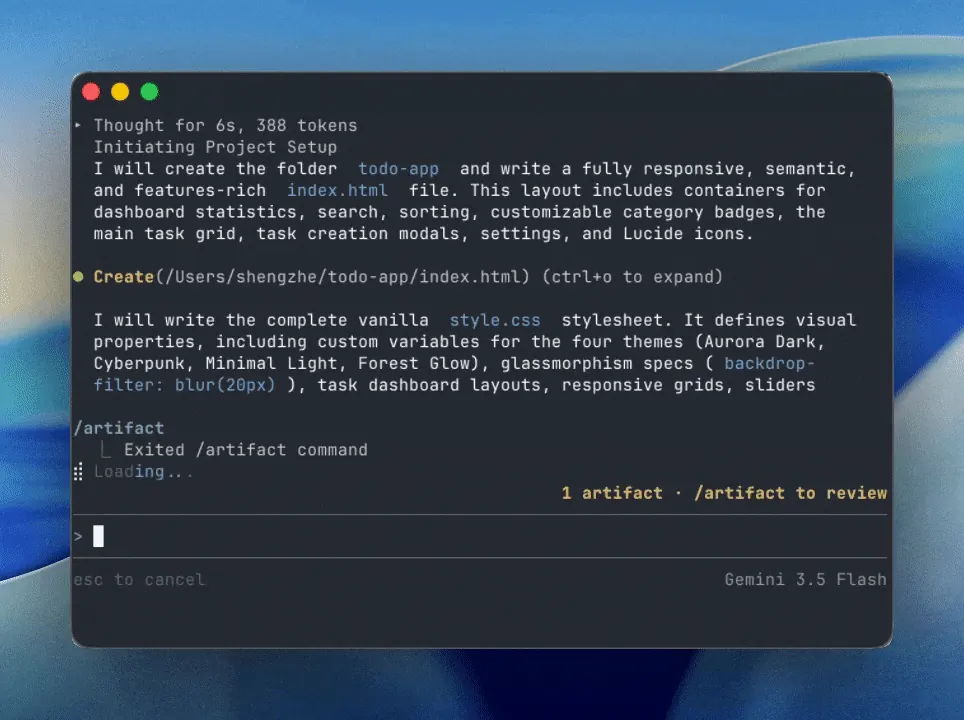
Antigravity CLI settings and settings.json
Settings are where a working CLI becomes predictable—or unexpectedly permissive. The official settings documentation describes a user-level settings file under the .gemini directory and a project-level .gemini/settings.json file. Use the user file for preferences that should follow you between repositories; use the project file for rules that belong to one workspace and can be reviewed with the rest of the project configuration.
Prefer the interactive /settings or /config view when you are learning the scope. Edit JSON manually only after you know which file is loaded. A valid JSON file in the wrong directory can look like a broken setting because the CLI never reads it. Keep a backup or a version-controlled example before changing permissions, sandbox behavior, or non-workspace access.
The following is a conservative shape, not a promise of every default in every release. Treat the official settings reference as authoritative for accepted keys and values, especially when a field controls shell execution or file access.
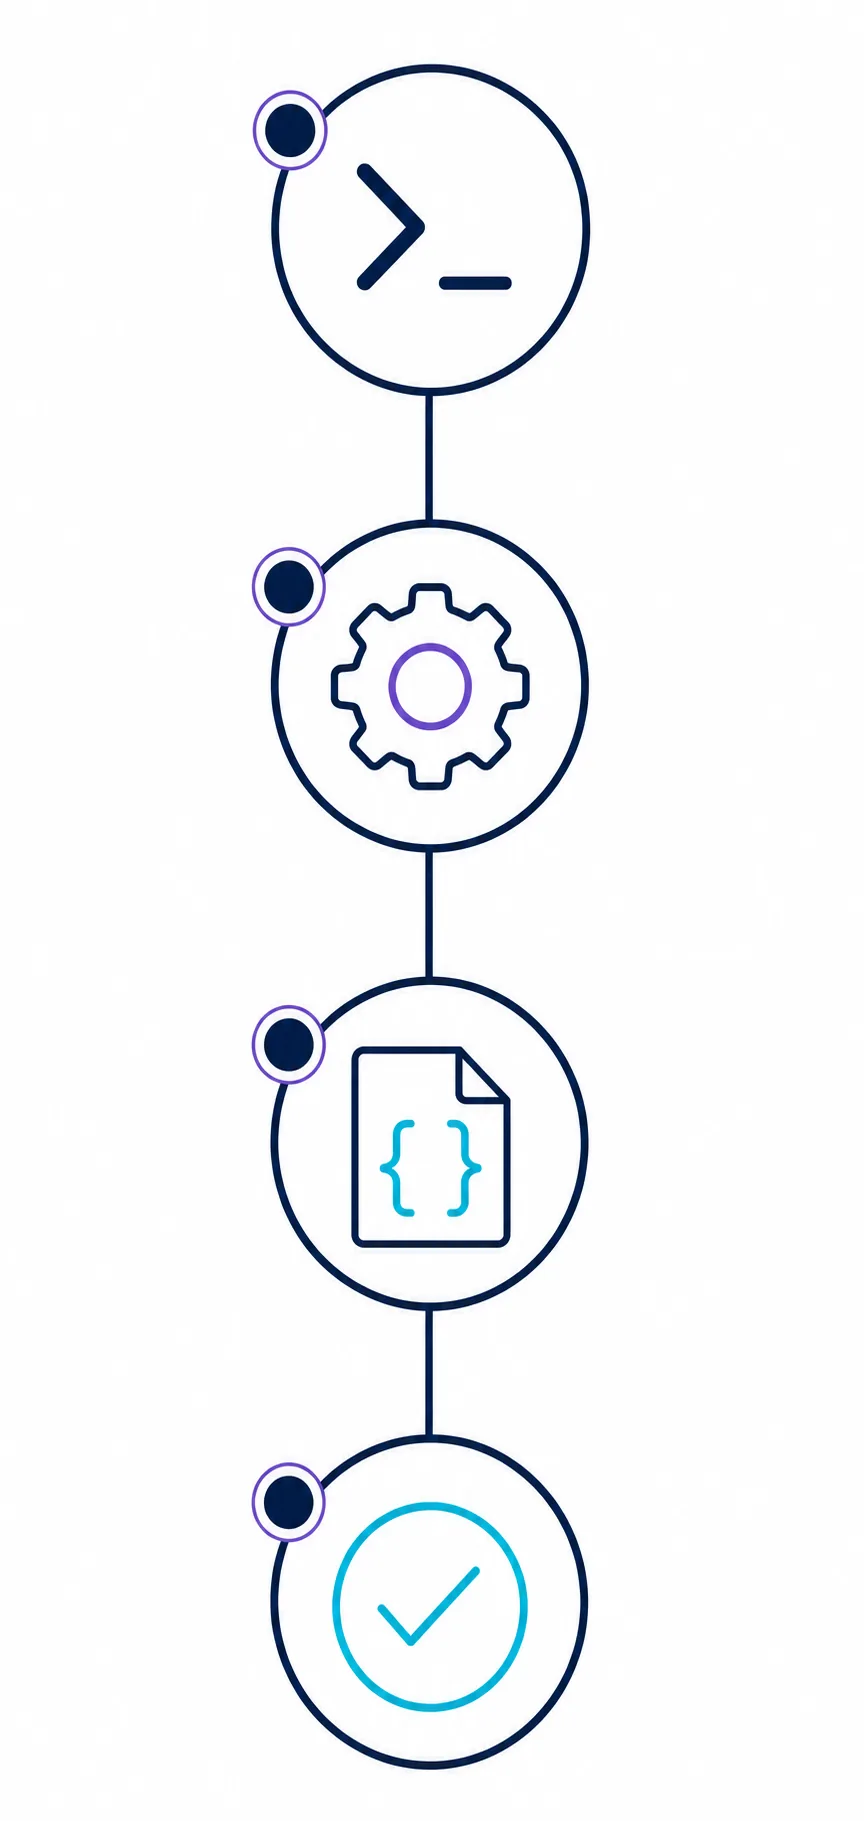
{
  "toolPermission": {
    "shell": "ask",
    "fileWrite": "ask"
  },
  "enableTerminalSandbox": true,
  "allowNonWorkspaceAccess": false,
  "altScreenMode": false,
  "artifactReviewPolicy": "always"
}- Scope first — Confirm whether the setting belongs in the user-level file or the project .gemini/settings.json file before changing it.
- Permission second — Keep shell and file-write actions at ask/review behavior until the workflow is understood and the repository is backed up.
- Sandbox deliberately — A sandbox can reduce risk, but it may also change what tools can see or execute. Document the trade-off for the project.
- Reset one field at a time — When a setting causes trouble, restore the smallest change and rerun a tiny test instead of deleting every configuration file.
Start Antigravity CLI from a terminal or VS Code
The CLI works best when the shell already represents the environment you want the agent to use. That includes the repository directory, Node.js or Python tools, package managers, credentials, and any approved proxy or shell policy. A desktop shortcut and an integrated terminal can inherit different PATH values, so always compare node -v, npm -v, or other project tools from the exact terminal that launches agy.
In VS Code, open the integrated terminal at the repository root and run the same version check you would run in a normal terminal. The CLI is not a VS Code extension by itself; it is a command-line workflow that can be used beside VS Code. If you need editor panels or the full desktop agent experience, use the IDE instead of forcing the CLI to imitate it.
For a reliable first run, ask the agent to inspect one small file, review a diff, or explain a short function. Do not begin by granting broad workspace access or asking it to run an unreviewed install script.
Open the repository
Use a small, version-controlled project and make sure the shell prompt is in the intended folder.
Check inherited tools
Verify the same PATH, Node.js, package manager, and proxy behavior that your project commands use.
Run a read-only task
Start with a file explanation or diff review before enabling commands that write files or access outside the workspace.
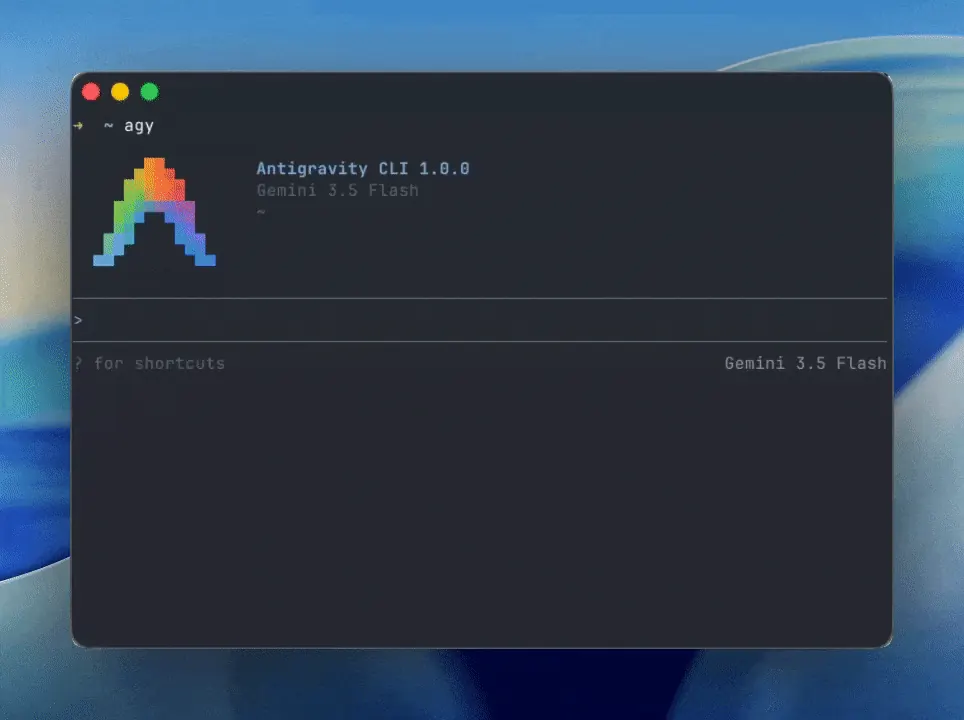
CLI version checks, updates, and rollback limits
The official Antigravity download page lists Antigravity CLI v1.2.0 separately from the desktop Antigravity 2.0 and Antigravity IDE version labels. Do not use a desktop version number as proof that the CLI is current. Record agy --version, the date you checked, and the official source whenever you report a CLI issue.
For updates, return to the official CLI install or download documentation and use the current platform command. Then open a new terminal and run agy --version again. If the version does not change, check for a second binary earlier on PATH, a stale terminal session, or an organization-managed installation. A rollback should be a deliberate compatibility test, not a substitute for fixing a broken PATH or settings scope.
This site has older desktop version pages for historical reference. They are not a claim that v2.2.1 is the current release. For current desktop files, use the official Google download page; for the CLI, use the official CLI documentation.
Security and permission checks
A CLI agent can be more powerful than a text-only chat because it can inspect a repository, call local tools, and propose or execute changes. The safer workflow is to keep permissions reviewable, start in a disposable or version-controlled folder, and make every shell command understandable before it runs. A command copied from a forum is not safe merely because it appears in a terminal block.
If you use settings that allow non-workspace access, broad shell execution, or automatic approvals, record why the project needs them and when they should be turned off. Link the decision to the repository's own security policy. For an approval-focused workflow, the site's Antigravity Auto Accept safety guide is a better companion than this CLI installation page.
- Keep shell and file-write actions on ask/review until the first run is understood.
- Do not paste tokens, private keys, browser cookies, or production credentials into prompts.
- Review /diff or the generated artifact before accepting changes.
- Use a clean test folder to separate service or account errors from repository-specific configuration.
- If a script requests elevated privileges, stop and verify the official source and exact effect first.
Antigravity CLI troubleshooting
Match the fix to the layer that failed. Reinstalling is rarely the first answer when the actual problem is PATH, settings scope, account state, or a shell policy.
agy is not recognized or command not found
Open a new terminal, run the official installer again only if needed, and inspect which executable the shell resolves. On Windows, compare the PowerShell PATH with the PATH used by VS Code. On macOS/Linux, check the shell profile that the installer updated. Do not add an unverified mirror directory just to make the command appear.
The CLI starts but the agent cannot use a tool
Run a read-only prompt in a small workspace, inspect the permission setting, and confirm the tool is installed in the same environment. If the failure is an MCP server, switch to the MCP setup guide instead of expanding this CLI page into a second server guide.
settings.json appears to do nothing
Check the active scope and JSON syntax. A project file may override or coexist with a user file, while a file outside the expected .gemini directory may never be loaded. Change one field, restart the session, and verify with /config or /settings.
The CLI works in a normal terminal but not in VS Code
Compare the working directory, PATH, shell profile, Node.js version, proxy, and environment variables. Fully restart VS Code after installing the CLI. If the command is available but the agent fails only in one repository, inspect workspace settings and MCP tools next.
An update still reports the old version
Run agy --version from a fresh shell and inspect the resolved executable. A stale terminal, a duplicate installation, or an earlier PATH entry can make a successful update look ineffective. Use the official docs for the current installation path before removing files.
Antigravity CLI FAQ
What is the current Antigravity CLI version?
The official Antigravity download page lists CLI v1.2.0 when this guide was checked on Checked September 12, 2026. Verify agy --version and compare it with the official page before calling a build current.
How do I install Antigravity CLI?
Use the official CLI install documentation. It provides the current macOS/Linux shell path, Windows PowerShell path, and package-manager guidance. After installation, open a new terminal, run agy --version, and then run agy in a small project.
How do I start Antigravity CLI from a terminal?
Open a terminal in the intended repository, check agy --version, and run agy. Use agy --help for launch options and /help inside the session for interactive commands. If the command is missing, repair PATH before troubleshooting the agent.
Where is Antigravity CLI settings.json?
The official settings guide describes a user-level .gemini settings file and a project-level .gemini/settings.json file. Use /config or /settings to confirm the active scope before editing a file by hand.
How do I reset Antigravity CLI settings?
Change one field back to its previous value, validate JSON, restart the session, and verify with /config or /settings. Avoid deleting every settings file unless you have a backup and understand which scope you are resetting.
Can I use Antigravity CLI inside VS Code?
Yes. Run the CLI from VS Code's integrated terminal, but remember that the CLI is a terminal workflow rather than a VS Code extension. Compare PATH and environment variables between the integrated terminal and your normal shell.
Is Antigravity CLI the same as the Antigravity IDE?
They are related surfaces with separate documentation and version labels. Use the CLI for terminal-first work; use the IDE pages for editor UI, desktop installation, system requirements, and Agent Manager behavior.
Should I configure MCP servers in this CLI guide?
Only at the boundary level. MCP server installation and mcp_config.json scope deserve the dedicated MCP guide. Link there when the error specifically concerns a server not loading or a WSL command.
Official sources checked
- Antigravity CLI getting started — Official first-run and authentication workflow.
- Antigravity CLI install — Official platform installation paths and package guidance.
- Antigravity CLI settings — Official settings scope, permissions, sandbox, and configuration reference.
- Antigravity CLI command reference — Official slash commands, flags, and command behavior.
- Antigravity CLI troubleshooting — Official troubleshooting for installation, authentication, and terminal issues.
- Official Antigravity CLI repository — First-party CLI repository and demo media source.